
****Disclosure: this page includes affiliate links. When you click and purchase, I may receive a small commission at no additional cost to you.
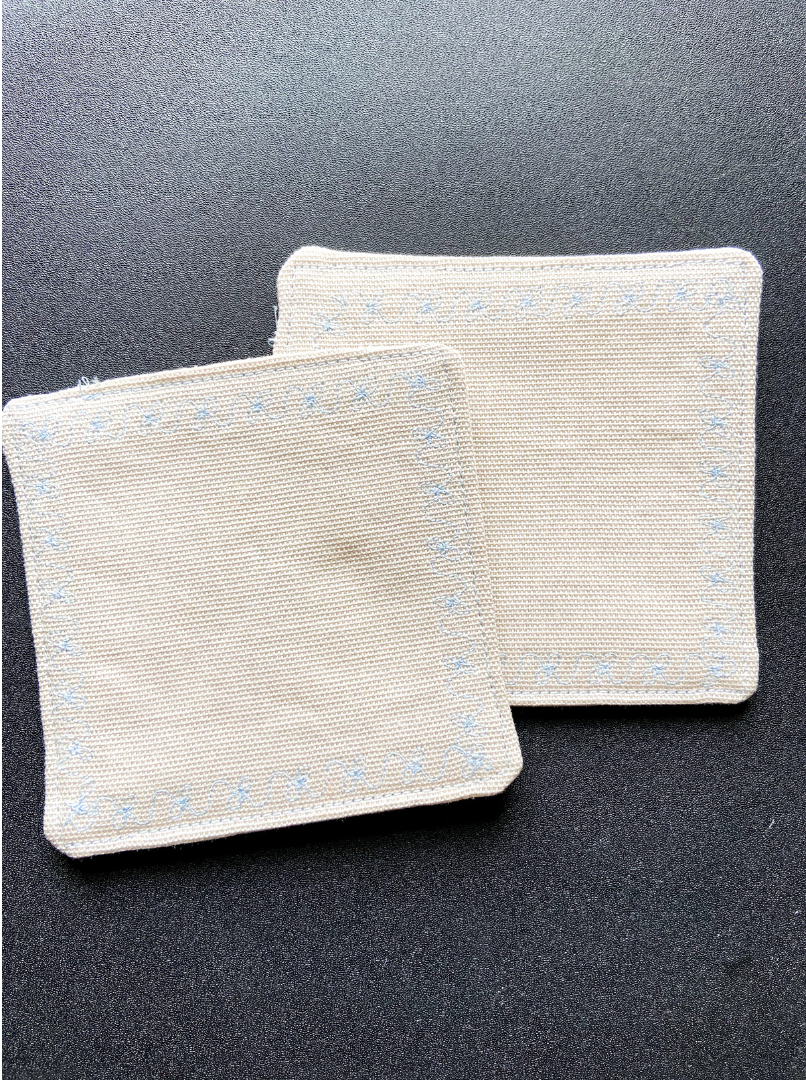
A sewn coaster is perfect to add creativity to your fun dinner parties or to use on a regular basis with your family. You can get a head start on holiday gifts with a festive printed fabric, or sew this with scrap fabric you have lying around to minimize waste and practice your sewing skills.
What I love so much about these coasters is that they are extremely customizable. You can change the shape, pattern, fabric choices, and more. The instructions below are for a square shape with the same fabric for the front and back.
Optional customizations are listed toward the bottom of this page.
Supplies Needed:
- Fabric (quilting quarters or scrap fabric works well)
- Matching thread
- Fusible fleece
Instructions:
Step 1. Cut the Pattern
Cut out a paper pattern. This examples has a 5in. x 5in. square. If you would like to create a larger coaster, cut a larger size pattern while accounting for a total of ¼ in. seam allowance along each side.
Step 2. Cut the Fabric
Cut out the fabric using the pattern.

Step 3. Cut the Fusible Fleece
Cut out the fusible fleece ¼ in. smaller than the pattern.
Step 4. Iron Fusible Fleece
Iron the fusible fleece onto the fabric.

Step 5. Add Decorative Stitching
Optional: add decorative stitching. This is your opportunity to add your personality. I added a border with decorative stitching.

Step 6. Sew Pieces Together
Sew two squares with right sides together leaving a 1 inch opening.
Step 7. Clip Corners
Clip the corners of the square. This will make the end points more sharp.

Step 8. Flip to Right Side
Flip right side out. With the opening, turn your coaster to right side out.
Step 9. Fold the opening
Fold the opening inward and press so that the raw edge of the fabric is inside and not seen.
10. Sew Perimeter
Sew along ⅛ inch around the perimeter. This will close the opening and create a continuous stitching for clean and finished look.

Want to receive a PDF of the instructions to add to your sewing files?
Optional Customizations:
- Add decorative stitching
- Add trim around the edges
- Make quilted squares
- Have different fabric for the front and back
- Color block fabric
Let me know how you enjoyed this pattern and what customizations you added.